
Winter changes the rhythm of camping. The light is softer, the evenings arrive earlier, and a familiar landscape can feel completely new. The best way to enjoy it is to make the practical decisions before your hands are cold.
A winter tent is one part of that preparation. Your route, forecast, sleeping equipment, campsite, and willingness to turn around all matter just as much. This guide is a starting point for planning a modest cold-weather overnight, not a substitute for local advice or training in winter mountain travel.
01. Begin with the trip, not the tent
Before opening a gear catalogue, write down the trip you actually want to take. Will you sleep near a vehicle or walk several hours from the road? Is the campsite sheltered or exposed? Could precipitation arrive as rain, wet snow, or drifting powder? A frosty night at an established campground and a storm above the tree line are very different undertakings.
Check the forecast for your camping elevation, access roads, local closures, and daylight hours. Snow can slow travel dramatically and hide a trail that was obvious in summer. Choose an achievable itinerary with plenty of time to establish camp before dark. Yosemite's winter safety guidance is a useful reminder to leave generous margins when conditions change.
For a first attempt, favour a short, legal trip with an easy exit and an experienced companion. There is no prize for making the first night remote. A small outing gives you room to learn which routines work, what feels awkward, and whether you enjoy winter camping enough to invest further.
02. What makes a tent suitable for winter?
The term “four-season” usually describes a shelter built to handle more demanding wind and snow, rather than a promise that it is ideal throughout the year. Compared with many three-season tents, these shelters use stronger structures, additional poles, heavier fabrics, and less exposed mesh. Those choices also add weight and can reduce airflow in mild conditions.
Look beyond the label. Read the manufacturer's intended-use guidance, setup instructions, and weather limitations. Consider how the pole structure supports the canopy, whether the fly provides suitable coverage, and how the guylines can be anchored. REI's tent buying guide explains these basic differences. A light summer shelter should not be treated as a snow-loading shelter simply because a warmer sleeping bag fits inside.
Try the tent with the people and equipment you will actually bring. Can both sleepers lie down without pressing against the walls? Is there room to change a layer? Can you reach the door without climbing over a companion? Compare packed size and weight as well as floor measurements. A purchase that suits your real trips is more useful than an impressive specification you never need.
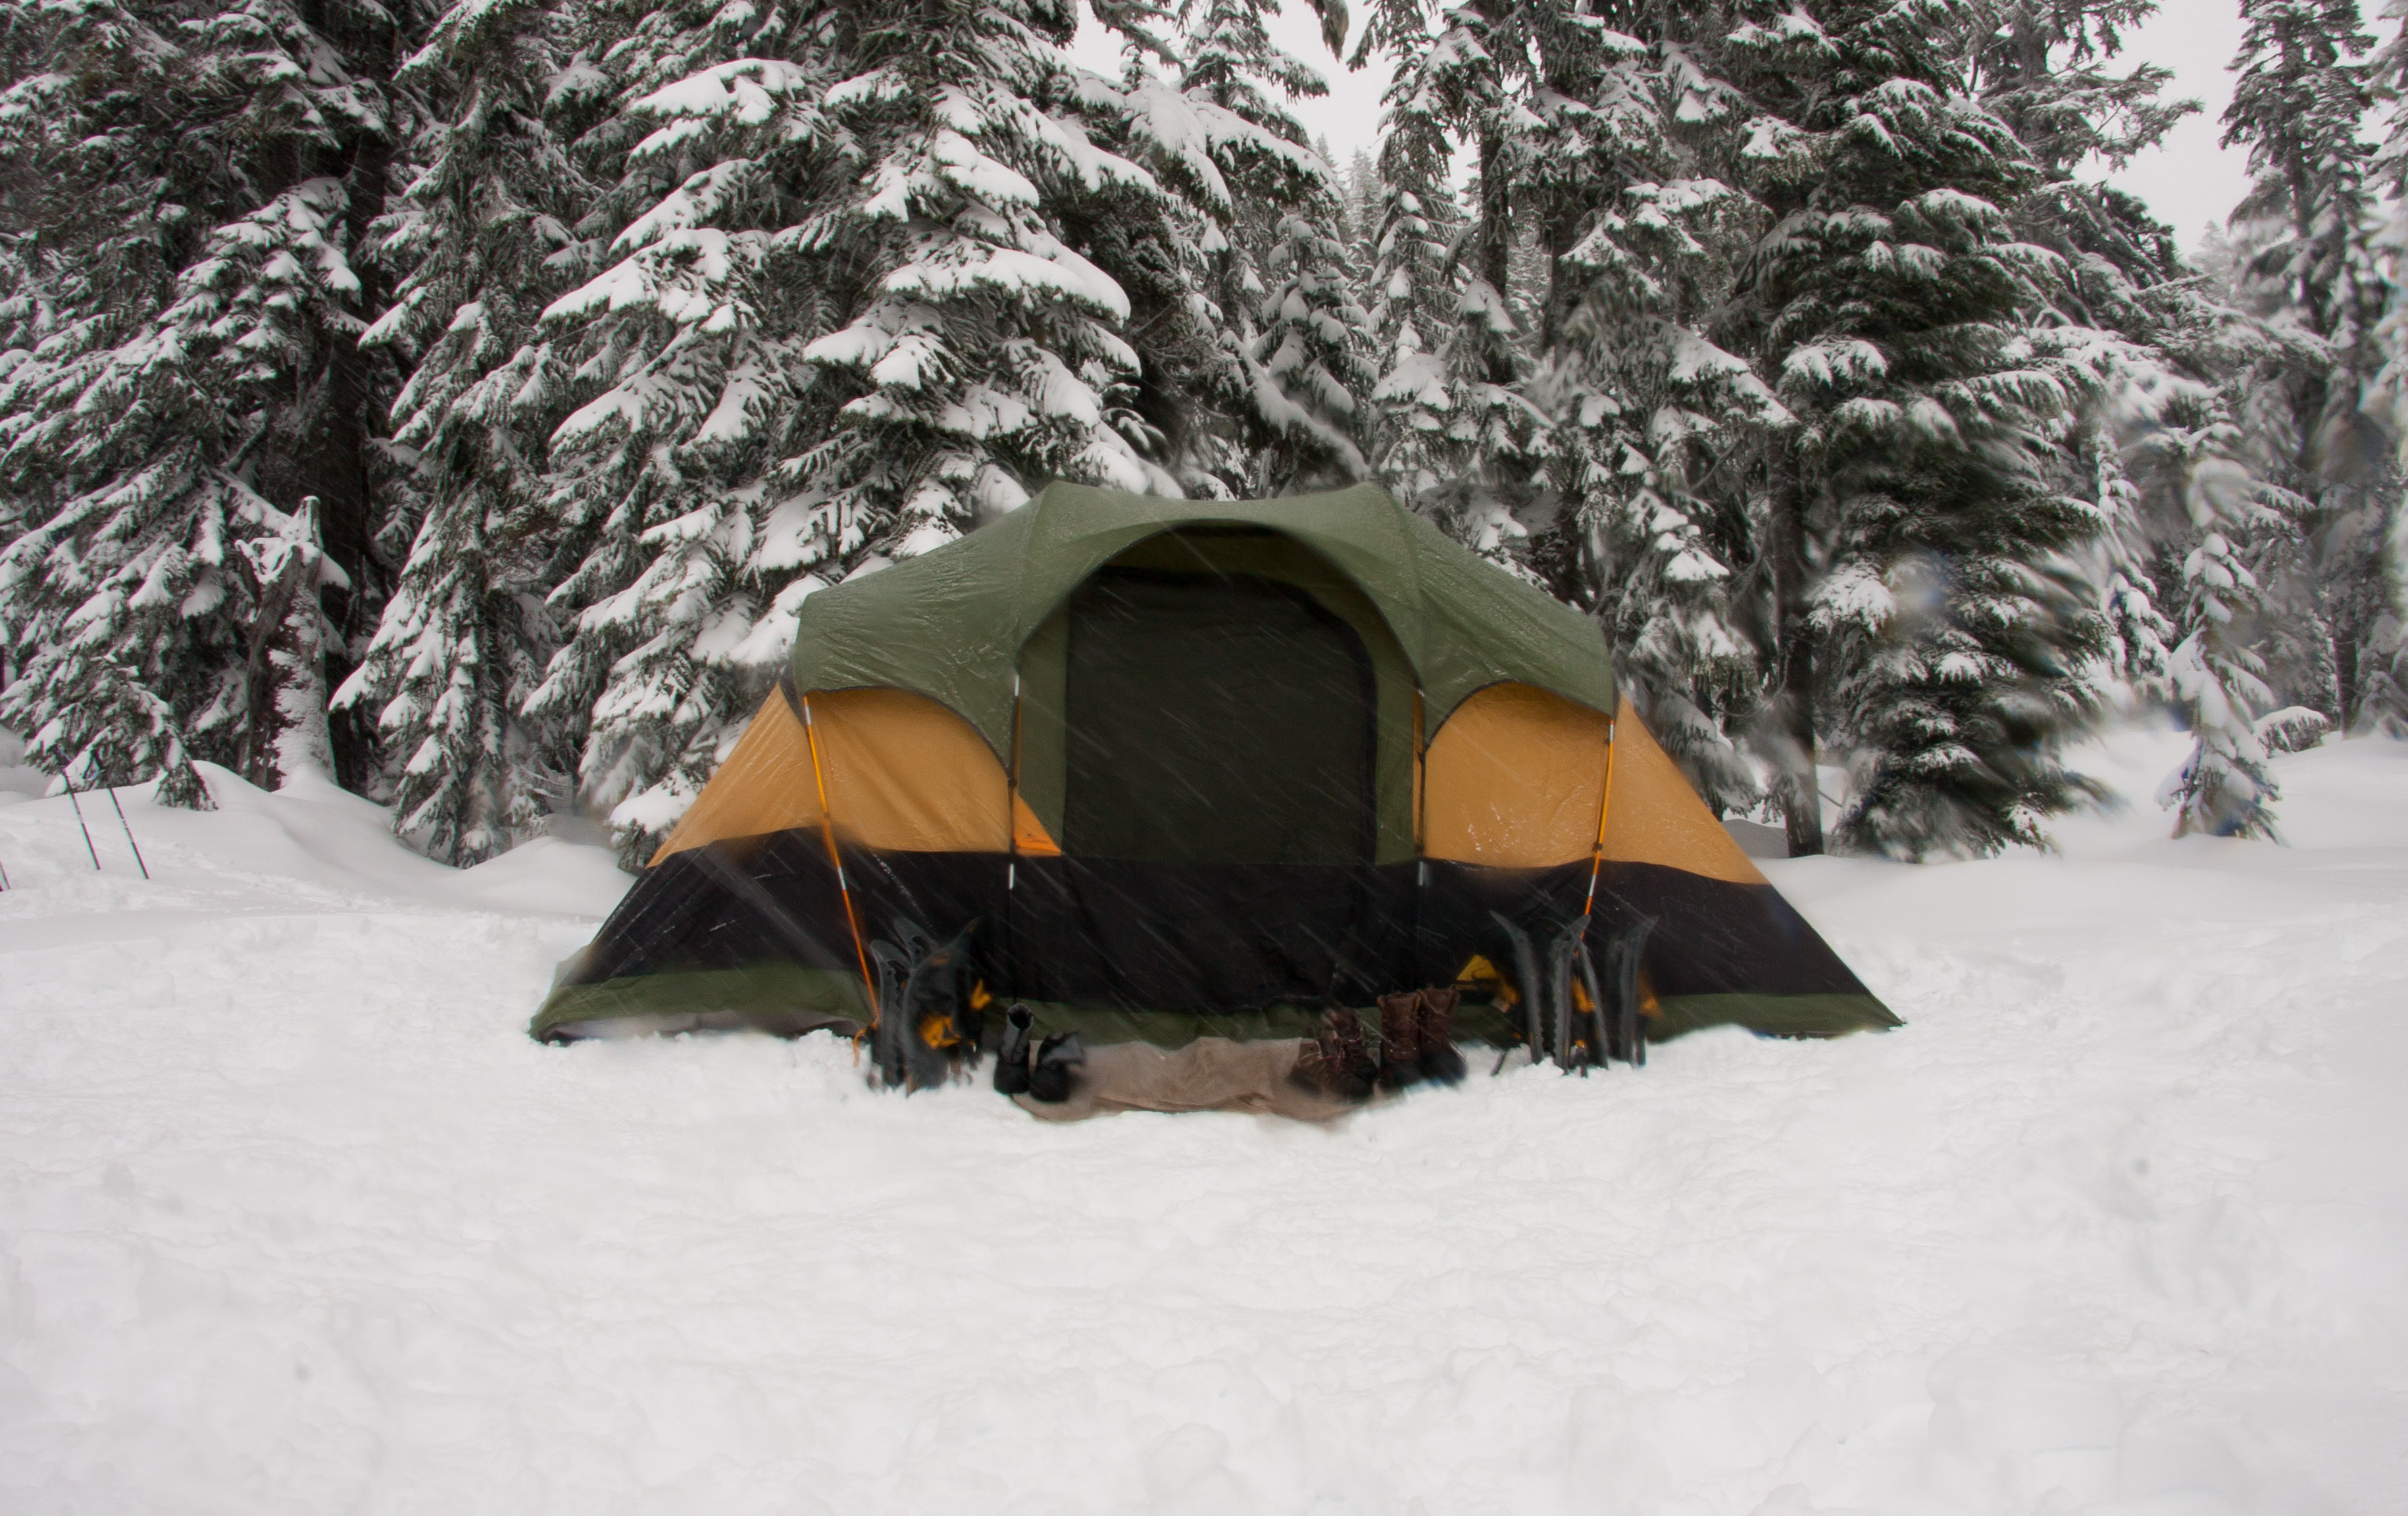

03. Build a complete sleep system
A tent provides shelter, but the insulation underneath and around you does the work of keeping you warm. Sleeping pads have R-values that describe resistance to heat transfer: higher values mean more insulation. Thickness alone is not a reliable guide. A thick air mattress designed for summer can still be a poor match for frozen ground.
Choose a pad system appropriate to the expected conditions and your own experience. Two pads can provide extra insulation and redundancy, and their R-values are additive. A closed-cell foam pad can remain useful if an inflatable pad develops a leak. REI's sleeping-pad guide explains how to compare tested R-values and plan a complete system.
Check what your sleeping bag's temperature figures mean. Comfort, limit, and extreme ratings are not interchangeable, and individual sleepers vary. Review the manufacturer's guidance rather than relying on the biggest number printed on the bag. Keep a dry set of sleeping layers separate from damp walking clothing, and test your complete arrangement somewhere you can retreat indoors.
04. Choose your campsite carefully
Use a permitted campsite and follow the land manager's winter rules. Snow does not make every patch of ground available for camping. Look for overhead hazards, wind exposure, watercourses, and slopes that could threaten the site. Avoid avalanche terrain and runout zones unless you have the necessary training and a suitable plan; a flat campsite can still lie below a dangerous slope.
Ask local rangers or the relevant avalanche service about conditions before departure. A forecast is one input, not a guarantee of safe travel. Mount Rainier's winter guidance highlights the importance of avalanche awareness, weather changes, and maintaining shelter ventilation during snowfall.
Once you choose a suitable site, establish a simple routine. Decide where packs will go, where the entrance needs to remain clear, and how everyone will locate the tent after dark. Pitch and anchor the shelter according to its instructions. Keep essential equipment easy to reach instead of burying it beneath everything you brought. An orderly camp feels calmer when daylight is running short.
05. Manage moisture before it manages you
Cold-weather camping is also moisture management. Exhaled breath and damp clothing can contribute to condensation, which may freeze on the inner surfaces of a shelter. Sealing every vent is not a reliable way to stay comfortable. Use the tent's ventilation features, maintain separation between inner and outer walls where the design requires it, and keep vents clear of accumulating snow.
Brush loose snow off clothing before entering. Give wet items a deliberate place, protect your dry sleeping layers, and avoid pushing your sleeping bag against damp fabric. Check the shelter during changing conditions and remove snow accumulation as instructed by the manufacturer. REI's winter camping overview covers these routines alongside winter equipment choices.
Think of the evening as a series of small handoffs: walking clothes to camp clothes, wet equipment to its storage spot, daylight tasks to nighttime tasks. You do not need an elaborate system. You need one that is simple enough to repeat when you are tired. Discuss it with your camping partner before the trip so that neither person has to guess.

06. Keep cooking and camp life simple
Choose meals you know how to prepare and a stove suited to the conditions. Learn its operation before leaving, including the manufacturer's fuel and cold-weather instructions. Plan drinking water, water treatment, and extra fuel if melting snow is part of the itinerary. A familiar meal is often a better first-trip choice than a complicated recipe requiring lots of utensils and bare-handed preparation.
Never use a camping stove, barbecue, or fuel-burning heater inside your tent or an enclosed vestibule. Fire and carbon monoxide are serious hazards; opening a door does not make indoor cooking a safe routine. Cook outside, away from the shelter, in accordance with the stove's instructions and local restrictions. See NSW National Parks' camping safety advice.
Food storage rules still apply in winter. Follow local requirements for food, rubbish, and scented items, and pack out your waste. Make the next morning easier by organising your breakfast and the equipment needed to break camp. Keep your headlamp accessible. Before settling in, agree on what would make you leave early: worsening weather, a failed piece of essential equipment, or someone who cannot get comfortably warm.
07. A final check before you leave
Use this as a conversation starter, then build a packing list for your destination. Check every item against the weather, the route, and the skills of the group. An item on paper is only useful if it works and you know how to use it.
- Weather, road access, permits, campsite rules, and daylight checked.
- Route and return plan shared with someone who is staying home.
- Appropriate shelter, complete poles, anchors, guylines, and repair supplies.
- Suitable sleeping bag, insulated pads, and protected dry layers.
- Food, water plan, stove, fuel, and required wildlife-safe storage.
- Navigation, headlamp, spare power, first aid, and emergency communication.
- A realistic exit plan and agreement to turn back when needed.
After the trip, make three short notes: what worked, what you missed, and what you carried without using. Let actual experience shape your next outing. Winter camping becomes more approachable when you improve one routine at a time, rather than trying to solve every possible scenario with another purchase.
The goal is not to endure the cold for its own sake. It is to create enough comfort and confidence to notice the quiet forest, the changing sky, and the pleasure of waking somewhere beautiful. Start small, prepare thoughtfully, and leave yourself the freedom to head home. The next clear night will still be there.
This introductory guide draws on the linked REI and national park resources. Conditions and rules vary by destination; check current local advice before travel. Photographs illustrate the story and are not endorsements of particular gear or campsite choices.
REI · Winter camping and backpacking basics ↗National Park Service · Winter safety ↗NSW National Parks · Camping safety ↗